Site configurations
After completing the installation process of the Ludifica component in your Moodle site, we must configure the component with the values that best suit your educational objectives.
Creation of a custom course field:
Users will be able to earn points for the completion of a course. To do this, we first need to create a custom field that indicates the number of hours it can take to complete the course.
To create a custom course field, first go to “Site Administration”, then click on “Courses” and there you will find the option “Course custom fields”.
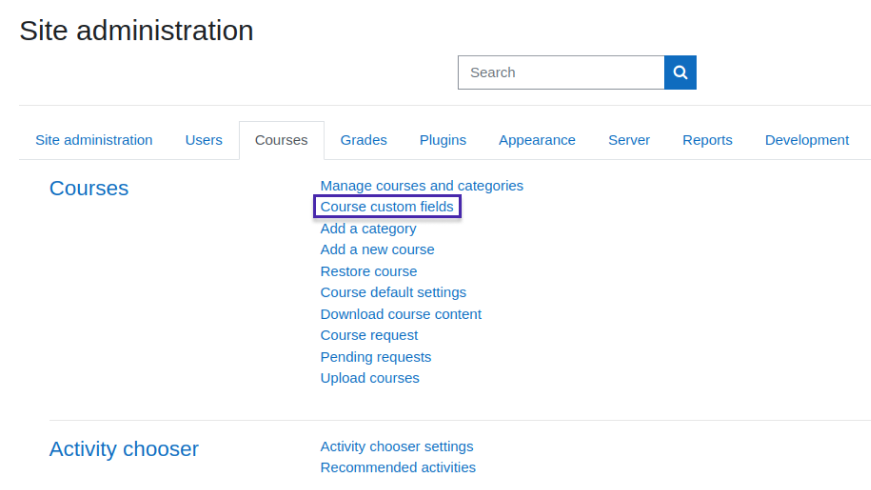
Image 1: Site Administration / Courses
Once there, click on “Add a new category” (only in case you have not created any so far or you want your field in a new one) and then click on “Add a new custom field”. The field we need to create is of type “Short text” (image 3).
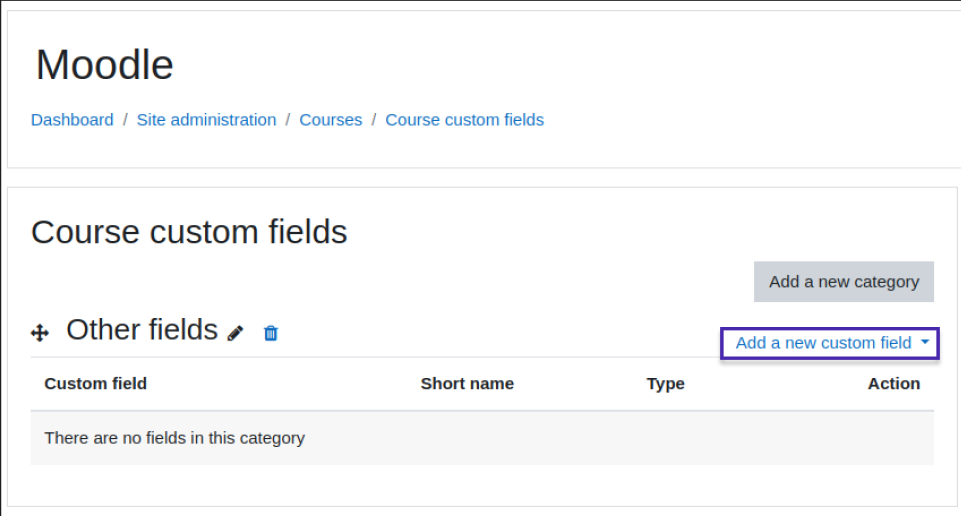

In this case we will call our field “Learning hours” and it will have the short name “duration”. The other field settings are optional and will not affect the behavior of the component.
Once you are done, click on “Save changes” and with this we will have our field ready to use in the points configurations.
Basic points:
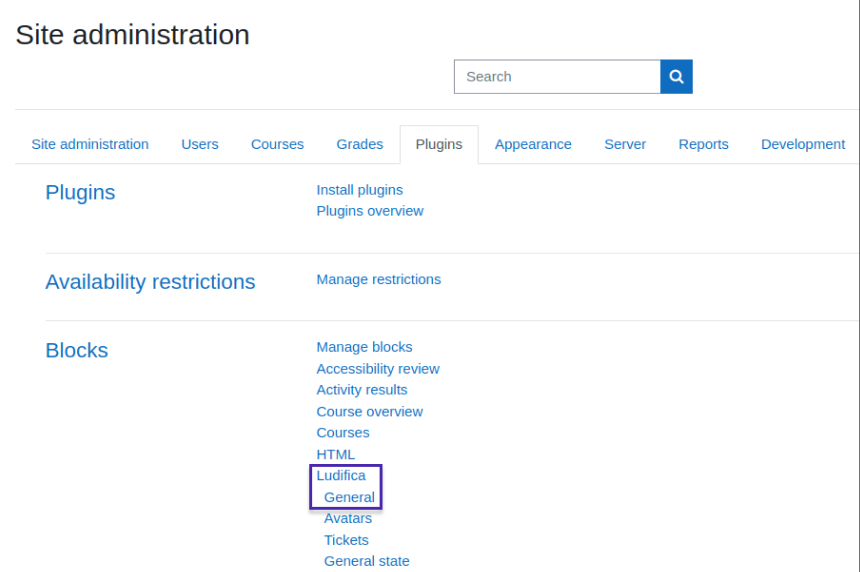
To start with the block configuration you should go to the “Site Administration” and click on “Plugins”. There you will find all the installed components. In this page go to the “Blocks” section and click on “Ludifica”.
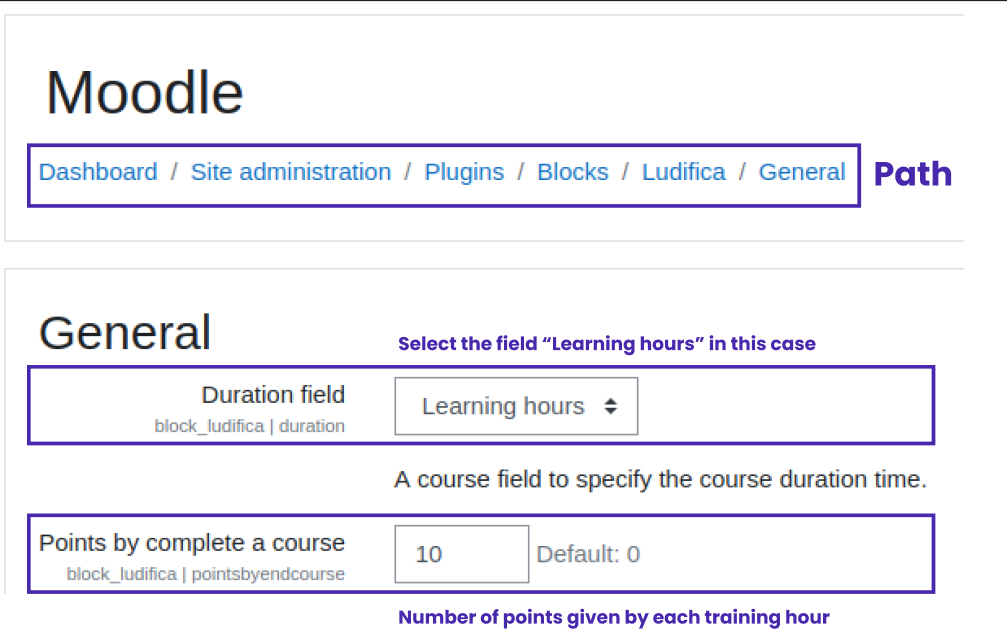
Once in the general settings of the block, in the “Duration field” (image 5) you must select the previously created field “Learning hours”.
The next configuration will be “Points by completing a course”, this field must be filled in with numbers, without spaces or letters. The number indicated there will be the number of points given for each hour of training that the course has, i.e. if for example the course has 10 hours of formation and it is defined that 10 points will be given for each one of them, at the end of the course the user will gain 100 points (10 points x 10 hours). This is represented in the following expression:
| Points earned for a completed course | = | # course formation hours | x | # points for completing a course |
Here it is necessary to mention the importance of configuring the formation hours and completion criteria in the courses, so this functionality can work.
Points per day streak:
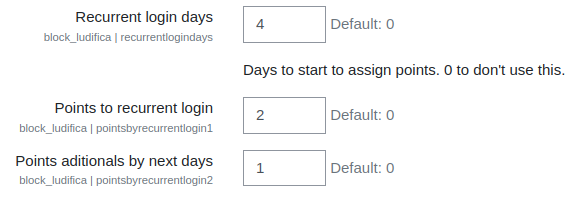
The additional points will be awarded for the number of consecutive days of login to the platform.
For example, if a user login for 4 consecutive days, they will get 2 points and for each additional day they login after the first 4 consecutive days, they will receive one point each day. So, by logging in for 7 consecutive days, the user will be able to accumulate a total of 5 points.
Keep in mind that the user does not lose points, only stops accumulating, for example, a user enters 4 consecutive days and stops entering until 2 days later, only receives 2 points and will not receive more points in this case. And the day he restarts the login, it will be day 1 of the new concurrent days account to accumulate more points.
To configure this, there are three numeric fields in the general block settings: the number of days of consecutive login (4 in our example), the number of points per day of recurring income (2 in our example) and the number of points per additional day (1 in our example).
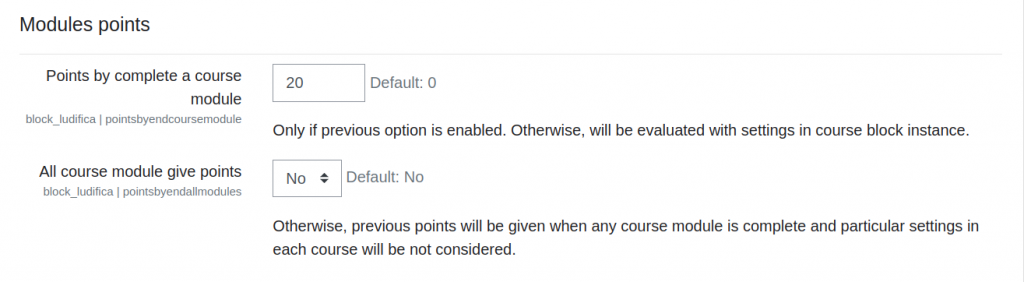
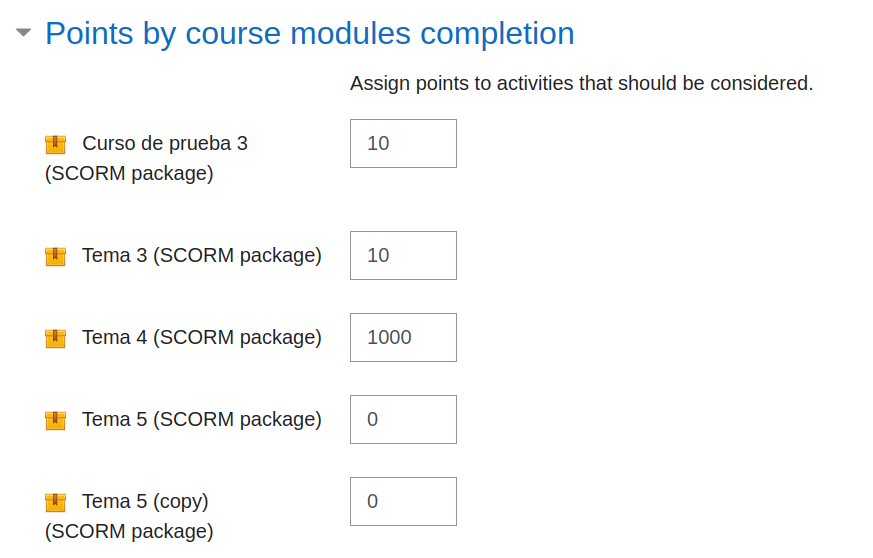
Points by modules
The block can be configured so that the completion of certain activities/resources within a course will award points to users. If the option “All modules give points” is active, you will be able to assign the amount that each module of the course will give in “Points for completing a module”. Otherwise, if you decide to configure this option as “No”, then you will have in the configuration of the block instance, the fields to assign the score that each of the modules of the course will give for its completion.
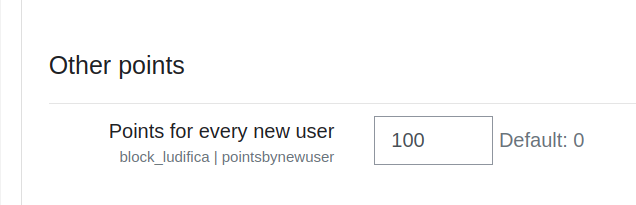
Points by new users
If you want your new users to start interacting with the benefits and avatars configured in the block, you can assign them a certain amount of points when they enter the site.
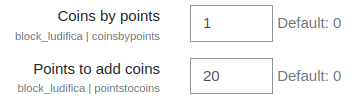
Coins:
You can get coins by accumulation of points, you must define the number of points that allow the user to obtain 1 coin. For instance, in a configuration of 20 points for 1 coin, the user, after completing a 10-hour formation course, will have 100 points that would allow them to get 5 coins.
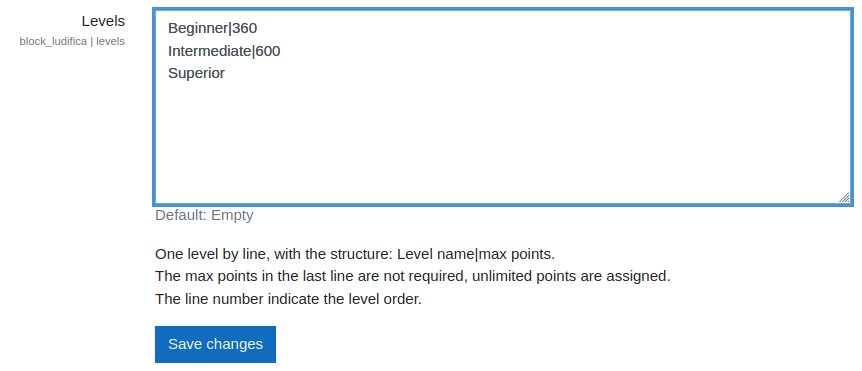
Levels:
Levels are defined by point limits. To create a level, just enter the name and indicate the limit of points at which you will pass to the next level, for example, in image 10 it is indicated that only until you obtain more than 360 points you will pass to the intermediate level, otherwise, you will remain in the beginner level.
Once you are done with the general settings of the component, click on “Save changes” and you are ready to start the configuration within each course.
Share badge
Define here those sites that will appear in the block to share the achievements obtained by each user. You must use the sharing link of the social network with the structure defined there.
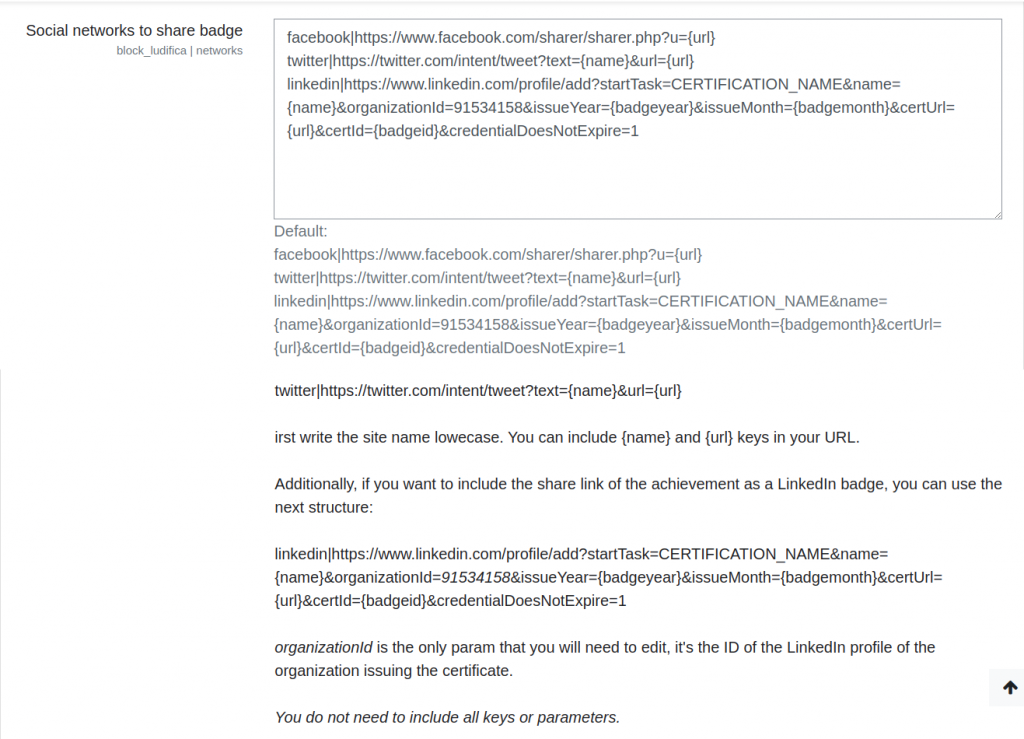
Si deseas que el usuario tenga la posibilidad de compartir su logro como un certificado de LinkedIn, debes modificar el campo de ID de la organización en la URL que está allí por defecto (resaltado en la imágen 13).
If you want the user to have the ability to share their achievement as a LinkedIn certificate, you must modify the organization ID field in the URL that is there by default (highlighted in image 13).

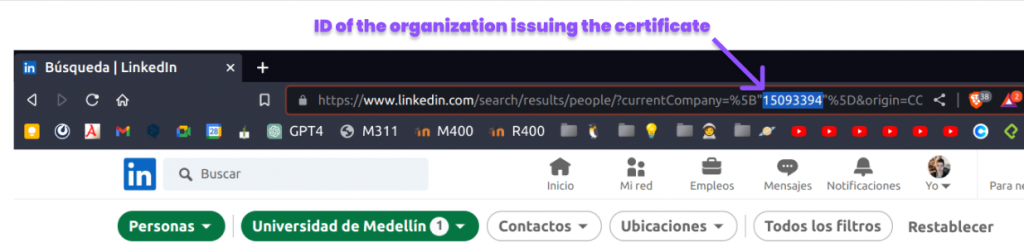
Get the ID of the organization issuing the certificate in the URL of the LinkedIn profile, to see it you must go to the employees section:
Once you are done with the general settings of the component, click on “Save changes” and you are ready to start the configuration within each course.
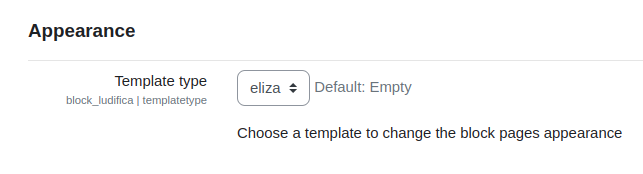
Templates
In the Appearance section within the general settings of Ludifica, we can find an option to change the default theme of the block. For now there is only an additional theme called “eliza” but we expect to add more themes later and, if you want to customize it, that would be the right place to add new themes.
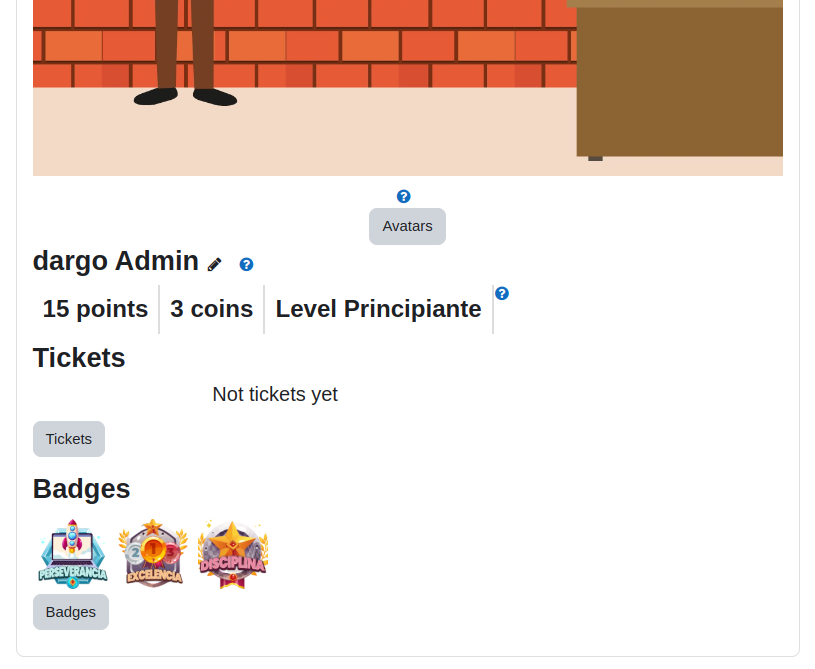
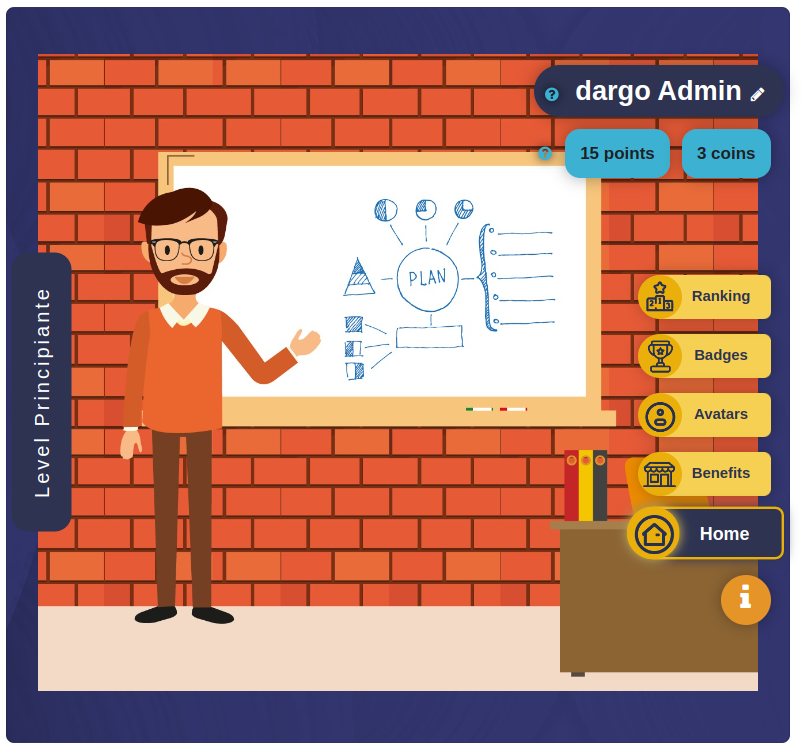
By changing the appearance to the eliza template, the user’s tab will change from how it looks in image 17 to how it looks in image 18.
Course configurations
Configure the total formation hours within each course:
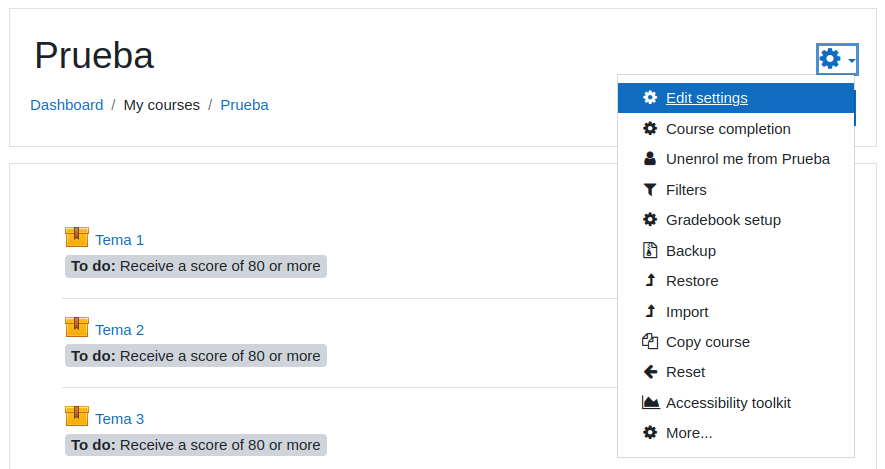
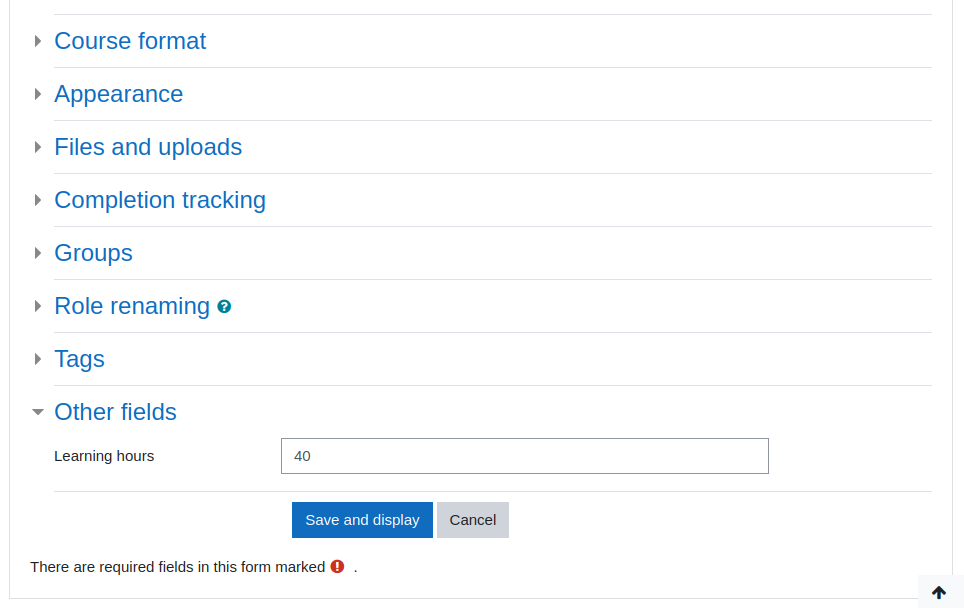
To do this you should go to the “Edit settings” option within the course. Then go to the “Other fields” category in our case and look for the previously created field “Learning hours”. In this field write in numbers the total number of hours that the course will last.
It is very important that this field is filled in correctly, with numbers, no spaces, no letters and in case you need to put a value in decimals, do it with a point, for example: 17.5
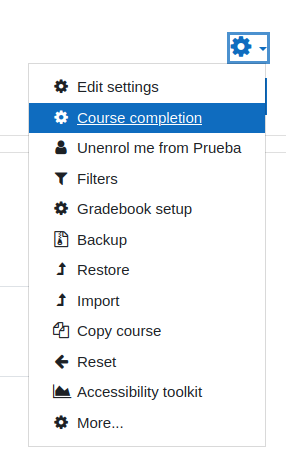
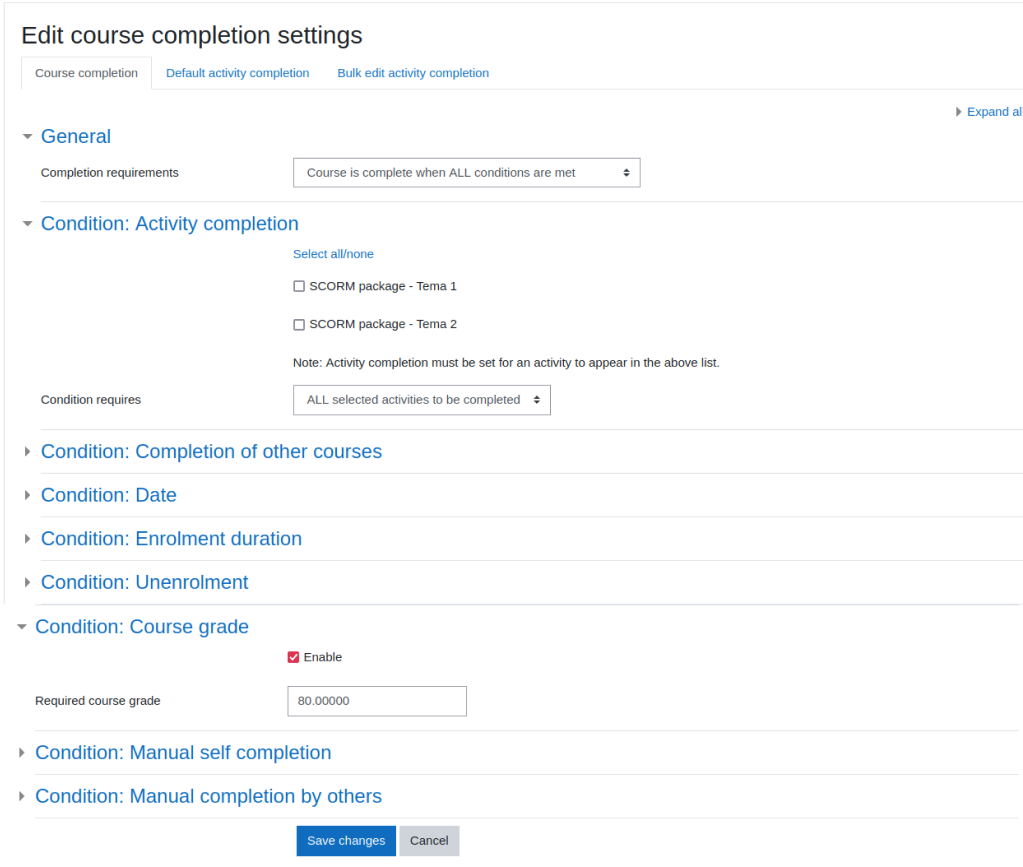
Configure the course finalization criteria:
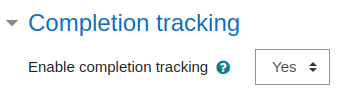
For this, it is first necessary that course completion tracking is enabled in the course settings.
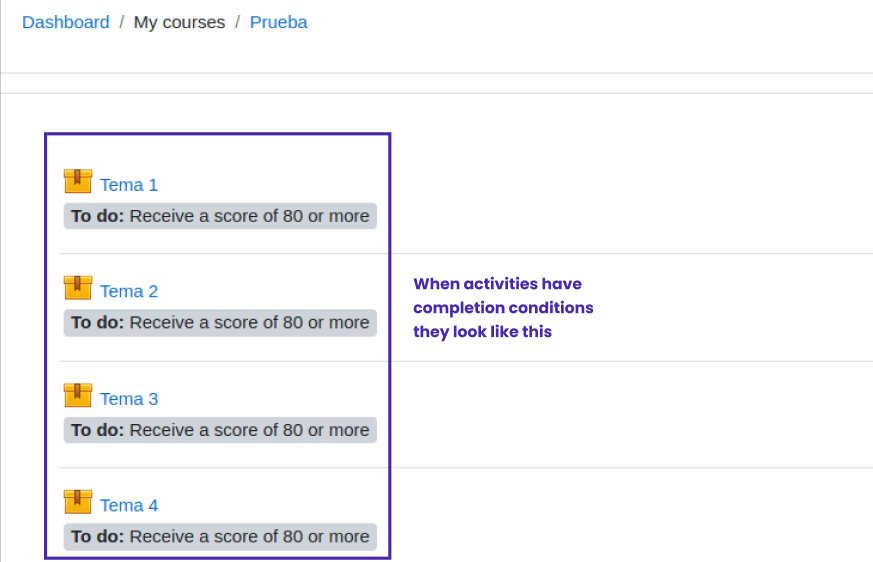
The activities must have the respective individual completion tracks configured.
Another important point to take into consideration is the way to indicate the completion of the course, for which there are different options, the most common being the completion of certain activities and the approval of a certain score. It all depends on the pedagogical guideline you have for it.
Once these configurations are completed, the courses will award the points previously configured to the users who have completed them.