Add block on the dashboard:
The first step is to go to the site administration, look for the “Appearance” option and choose “Default Dashboard page”, after clicking there, a dashboard will appear where you can place the information that users will see when they login.

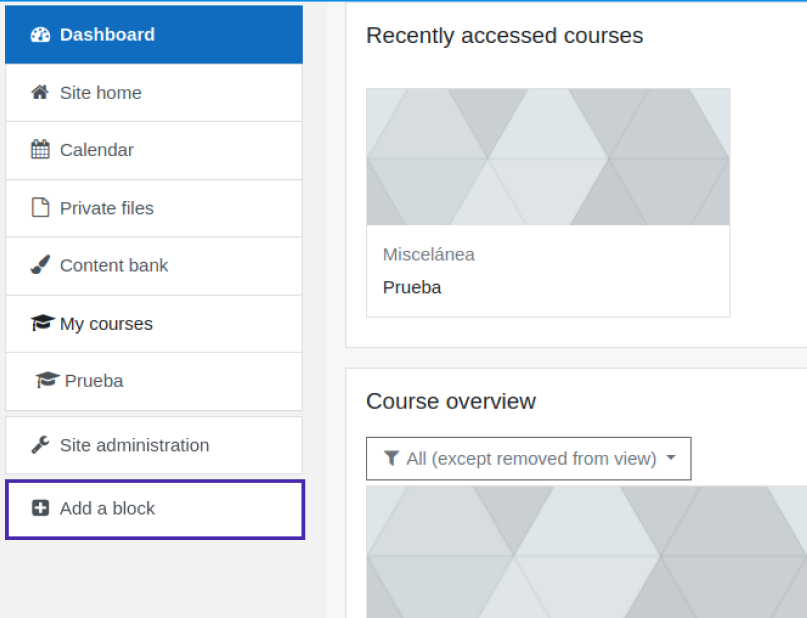
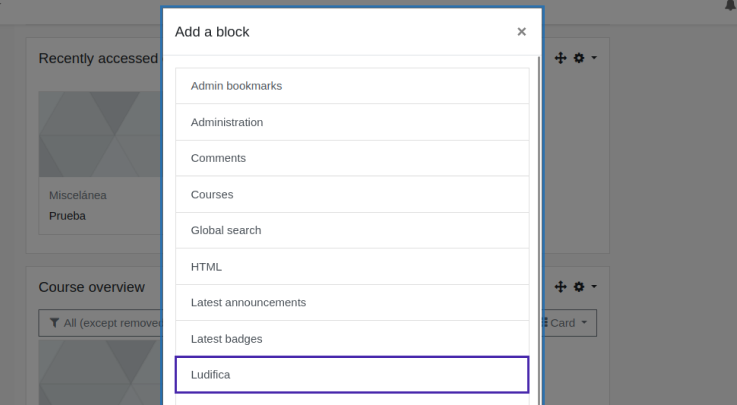
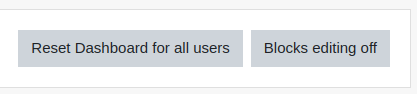
Once there, click on “Blocks editing on” and then the option “Add a block” will show up, usually located on the left side of the screen, click on it and choose the “Ludifica” block.

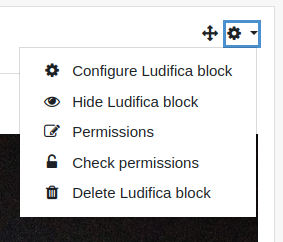
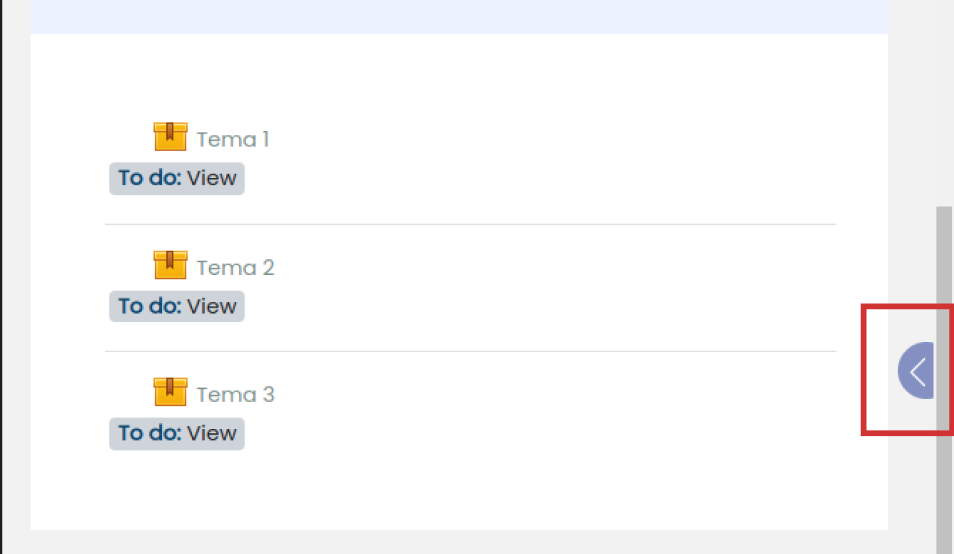
After clicking on the name of the block, it will appear on the screen. Sometimes the added blocks are hidden, to see them you need to click on the tab located on the right side. Other times the block appears on the right side without being hidden, to configure its location just drag it to the center of the dashboard panel or click on the settings button to give it a more specific location.
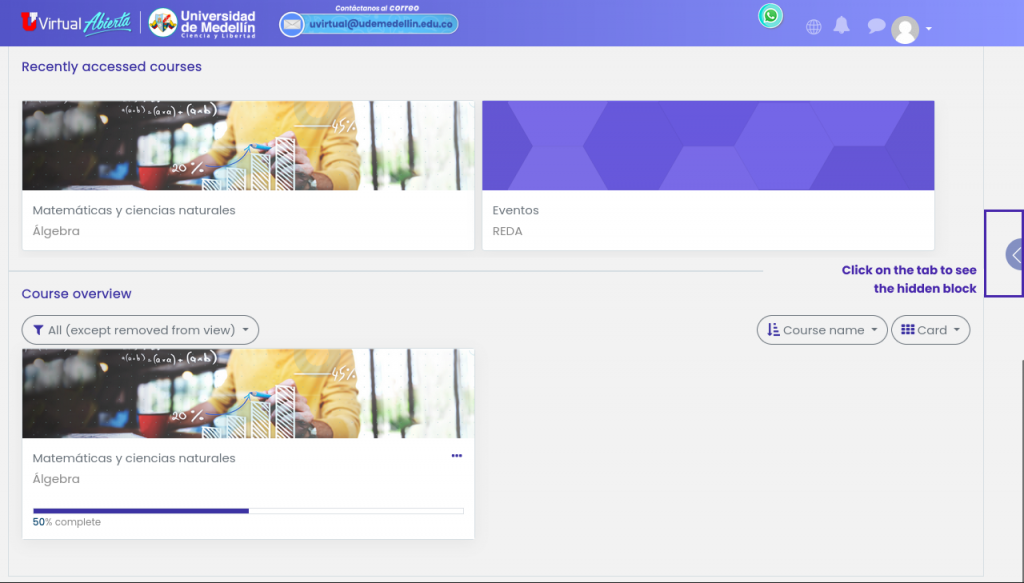
Taken from: https://uvirtualabierta.udem.edu.co/
In the configuration, the first field is for adding a custom name to the block if you want to. Then, there are checkboxes to indicate if the positions table is to be viewed at the profile, course or site level. Finally, there are two menus to configure where the block will appear.
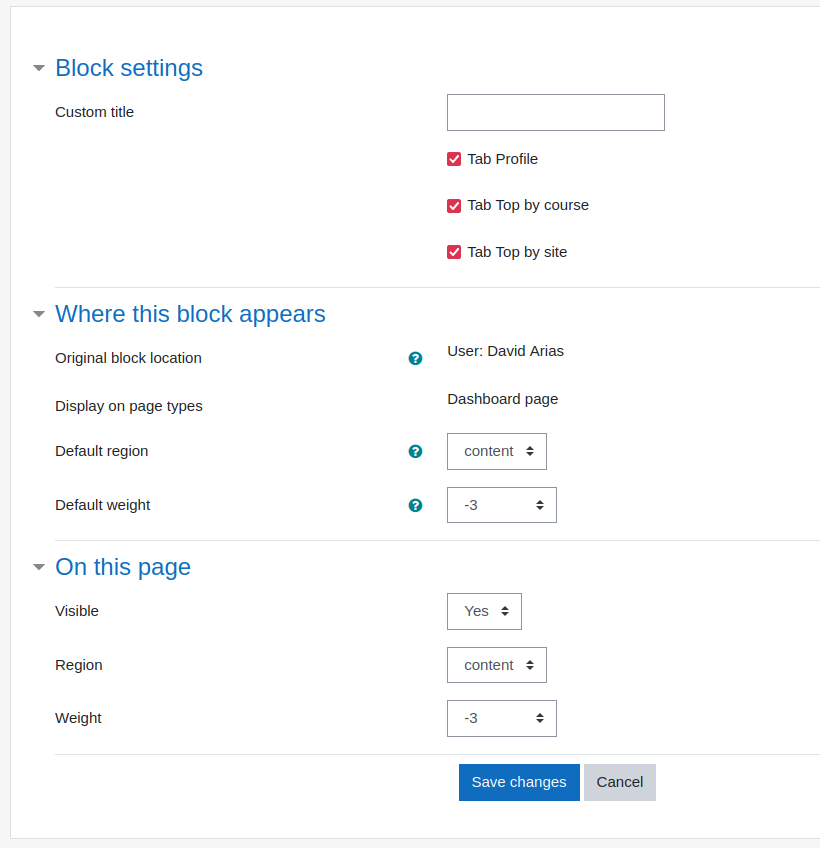
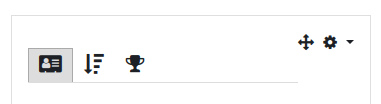
After selecting the checkboxes, they will be displayed inside the block:
After the configuration, click on “Save changes” and on the “Reset Dashboard for all users” button. This way it will be visible for everyone.
Add block on a course
To add the Ludifica block at the course level, it is necessary to have the course edition active and then the option “Add block” will appear, which is usually located on the left side of the screen, click on it and from the list of available blocks choose Ludifica. If it is hidden, go to the right side and configure its location (image 5).
If you don’t see the block, go to the right side and configure its location.
The configuration of the block in a course is similar to the configuration in the dashboard area.
Configure tabs
In the block instance configuration, you can decide what information you want the block to show you, you can see the options in image 11:

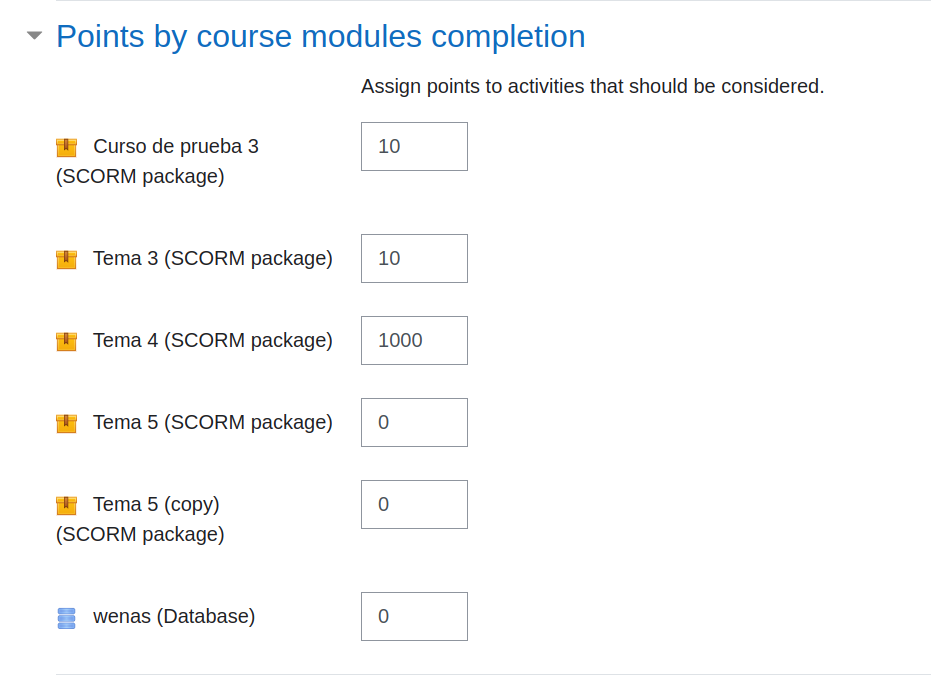
Points by course modules completion
Here you can set the points that will be given to the user who completes a resource. This option is only available if “No” is checked in the “All modules give points” field in the general block settings.
Add a new avatar
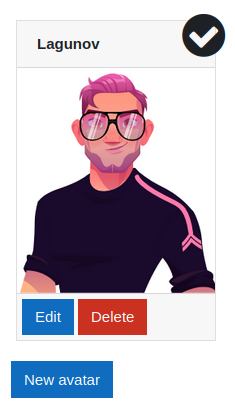
This can be done by clicking on the “Store” button and then on the “Avatars” section (it can also be done by clicking directly on the “Avatars” button or in the path: Site Administration / Extensions / Blocks / Ludifica / Avatars). You will see the available avatars with their possible actions: buy, edit and delete.
Here you will find the “New Avatar” option that will allow you to add information about the avatar and the images that represent it at different levels.
By clicking on “New avatar” some required fields will be shown:
- Name
- Bust: Image that will appear to buy the avatar
- Description: HTML editor where a brief avatar information is added (between 70 and 80 characters).
- Type: Selection field to choose the avatar type ((in the current development it will only be possible to add the normal type).
- Cost: numeric field to add the cost of coins to obtain this avatar or in case it is free you need to put the number “0”.
- Sources: Field to insert a list avatar image URL in their different levels. Each line represents a level, the first one is level 0.
- Enable: Field to select if the avatar will be available or not in the store.
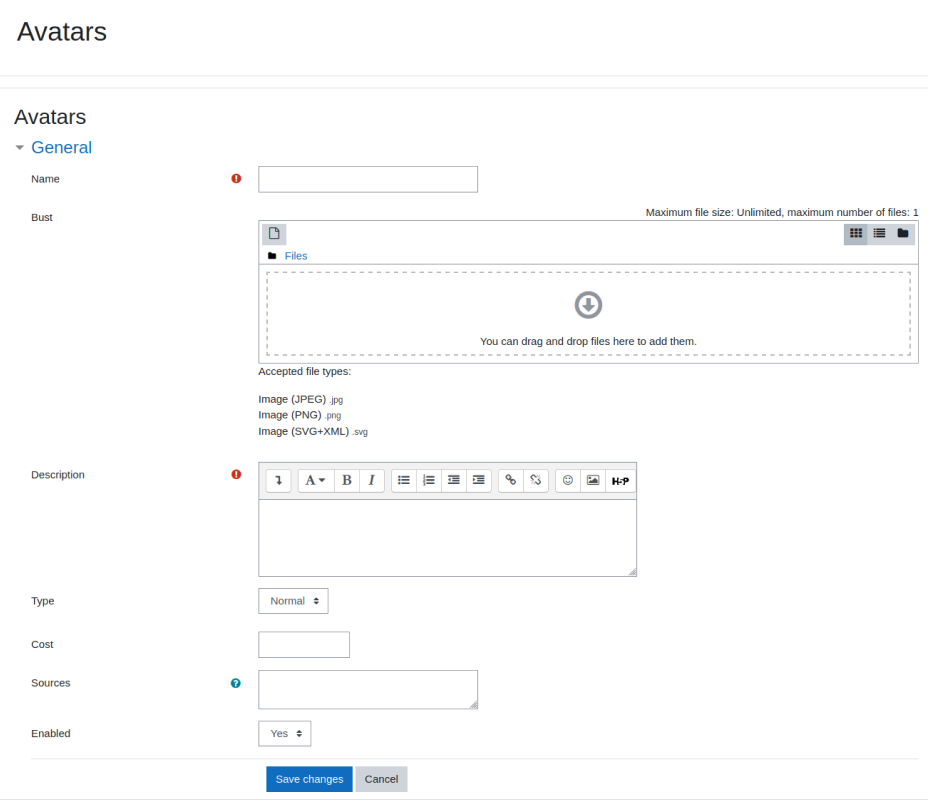
Once the new avatar settings have been made, the last step is to click on the Save changes button.
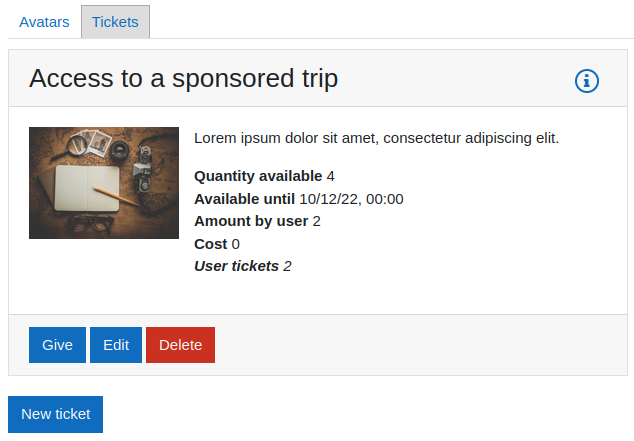
Add a new benefit
Within the store click on the “Benefits” button, there you will find the available benefits and the actions to perform with each one (buy, edit, give, delete). The “New benefit” option will be displayed too.
Clicking on “New Benefit” will display some required fields:
- Name
- Thumbnail: field where you add the image that will appear from the benefit.
- Description: text field where the information or description of the benefit is added.
- More information : HTML editor with the additional information (located in the upper right corner of the benefit card, by clicking on the icon
).
- Code: code field that allows you to add a special code (for example to offer seasonal benefits, which all users can get) or else an automatic one will be generated by default for each benefit.
- Cost: numeric field to add the cost of coins to obtain this benefit or in case it is free, type the number “0”.
- Available date : date field to indicate until when the benefit will be available (in case you want to leave it for an indefinite period of time, enter a very distant date).
- Amount available: numeric field for the total amount of benefits available.
- Amount by user : numeric field for the amount available per user (the maximum number of benefits that a single user can acquire, even if there are more available on the platform)
- Related data (JSON format) : text field available to the programmer, this field must not be modified.
- Enabled: selection field to indicate if the benefit will be available or not.
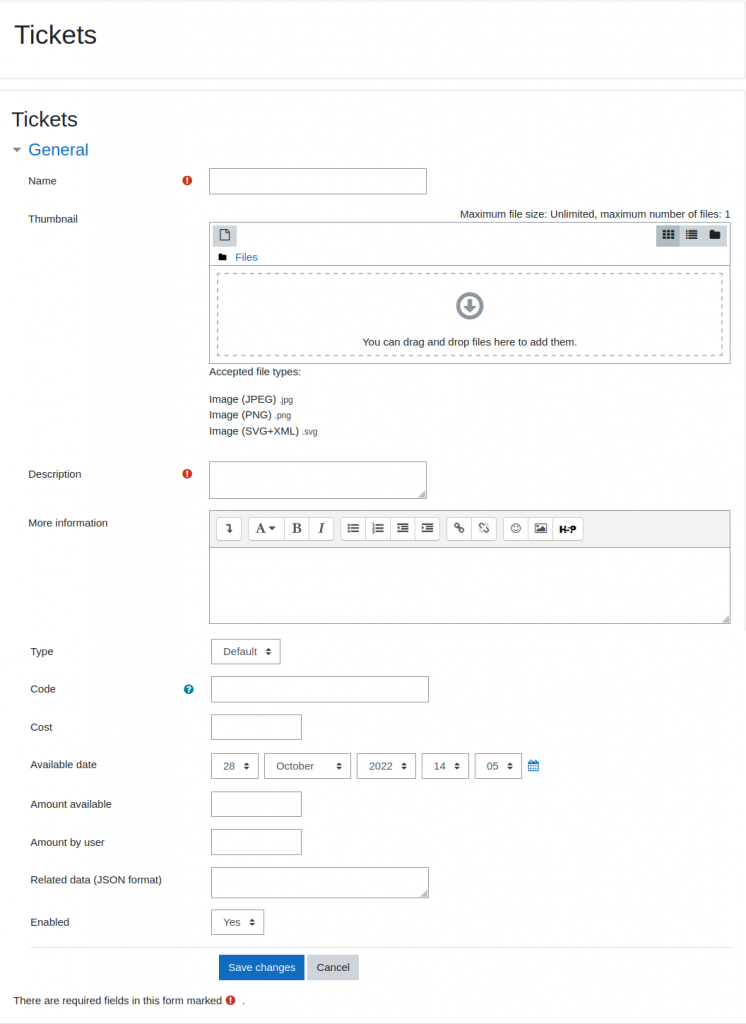
Once the settings for the new benefit have been made, the last step is to click on the save changes button.