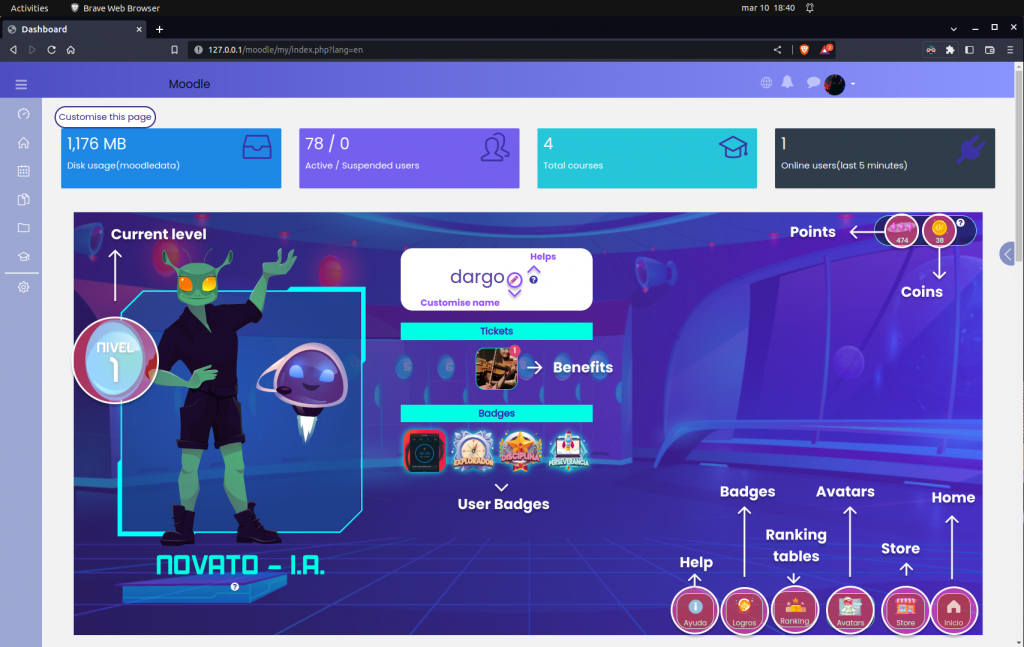
Taken from: https://uvirtualabierta.udem.edu.co/
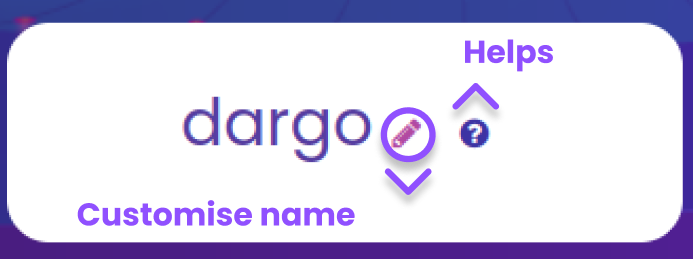
Customise your name
To do this, click on the Edit button located next to the name; once you have finished, press the Enter key and the text you type will be saved in your dashboard.
Taken from: https://uvirtualabierta.udem.edu.co
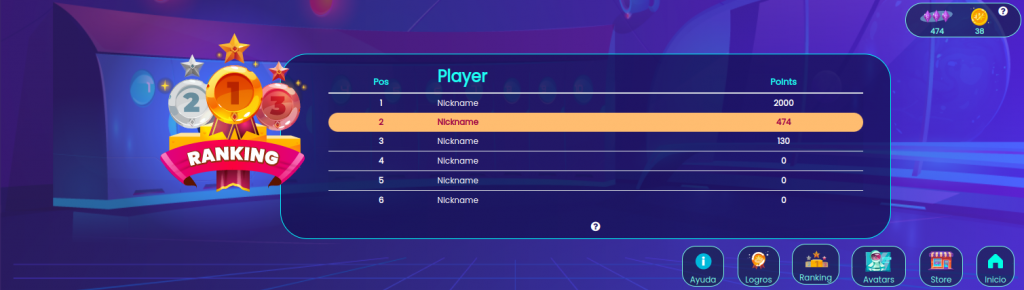
The name that you set will also appear in the block’s positions table, as you can see in the image 3:
Taken from: https://uvirtualabierta.udem.edu.co/
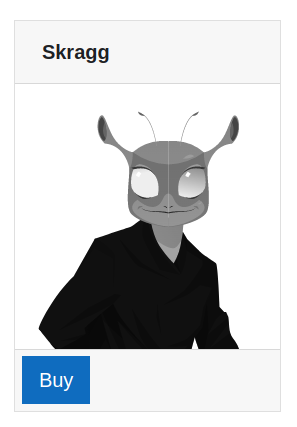
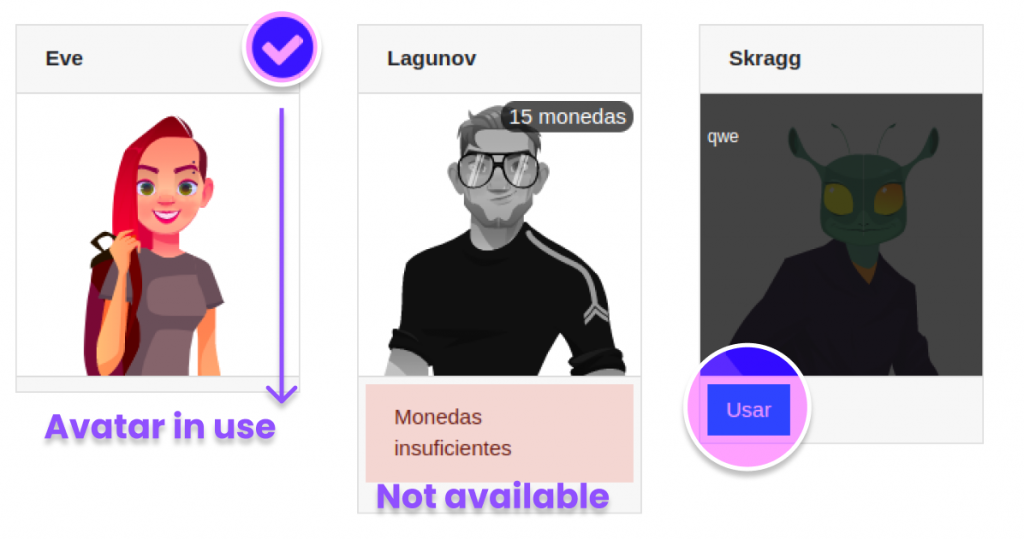
Get your avatar!
Vector taken from: https://uvirtualabierta.udem.edu.co/
To purchase an avatar you must go to the store, some are free and others can be purchased using the coins earned. Select the desired avatar and click on the “Buy” button.
If you want an acquired avatar to be shown in your dashboard, click on the “Use” button (image 5).
In the list of avatars, the one in use is indicated by an icon at the top right:
Taken from: https://uvirtualabierta.udem.edu.co/
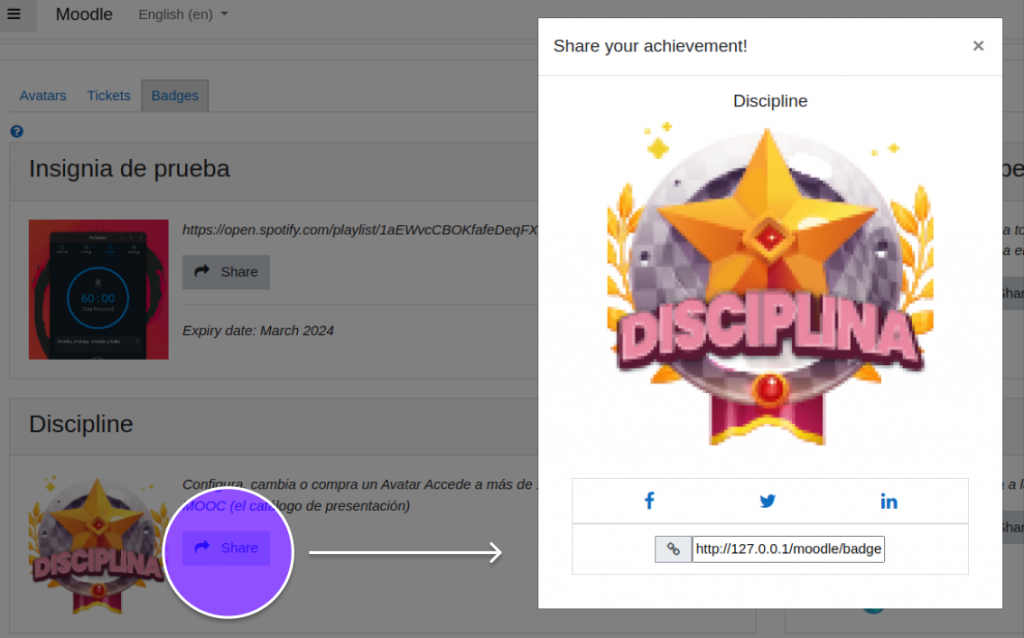
Badges
From the block you will be able to access a section where you will see all the badges you have received on your journey through the site.

If you wish to share this achievement in your social networks, you can do it in the following way:
Get a benefit and share it!
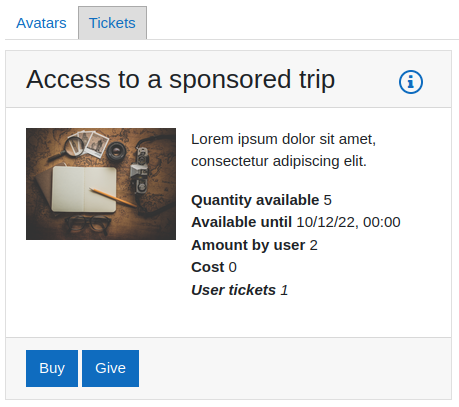
To get a benefit just go to the store and click on the “Benefits” section, here you will be able to see the list of available benefits. Use the coins earned to buy the incentives you are interested in. If the benefit has no cost you can just claim it.
Once you have purchased the benefit, you will have the option to share it to a contact.
And how do I add a contact to share a benefit?
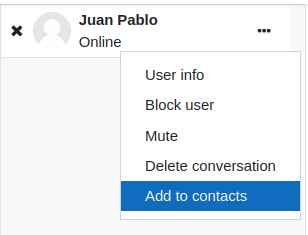
To add a user, just go to the messaging menu located at the top right of the platform and look for the contact in the search bar.
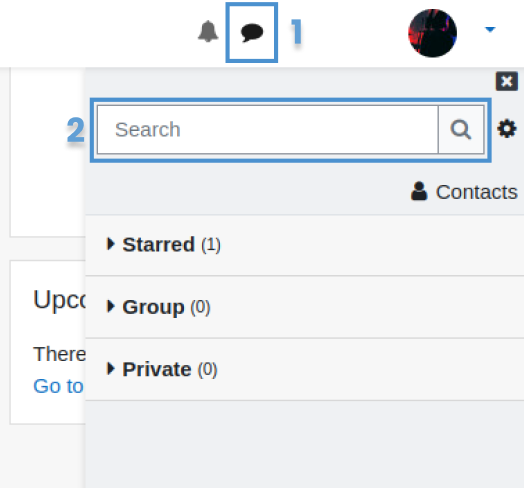
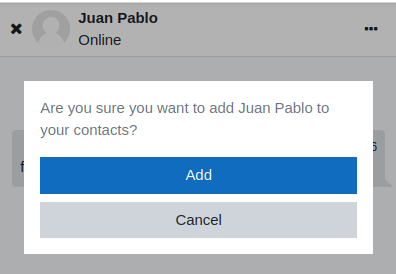
Once the name is displayed, click on the contact and select “Add to contacts” from the possible actions. The other person will receive the invitation and must confirm the invitation to complete the process.
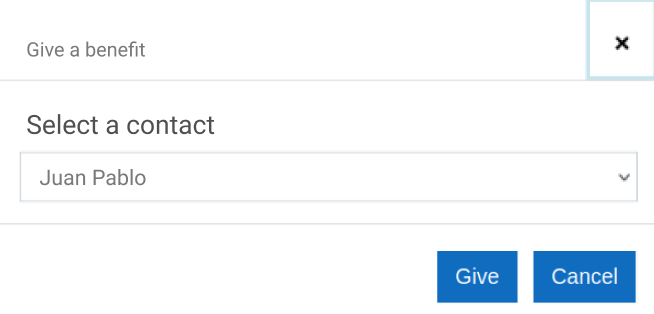
Once the contact has been added, go to the “Give” button in the benefit and choose the contact to whom you want to give the benefit.
Public profile
When you enter a user’s profile, you will be able to see their name, points, active avatar, achievements and level.

Helps
If you have any doubts about the use and operation of the block, do not hesitate to use the contextual help.

Taken from.: https://uvirtualabierta.udem.edu.co/
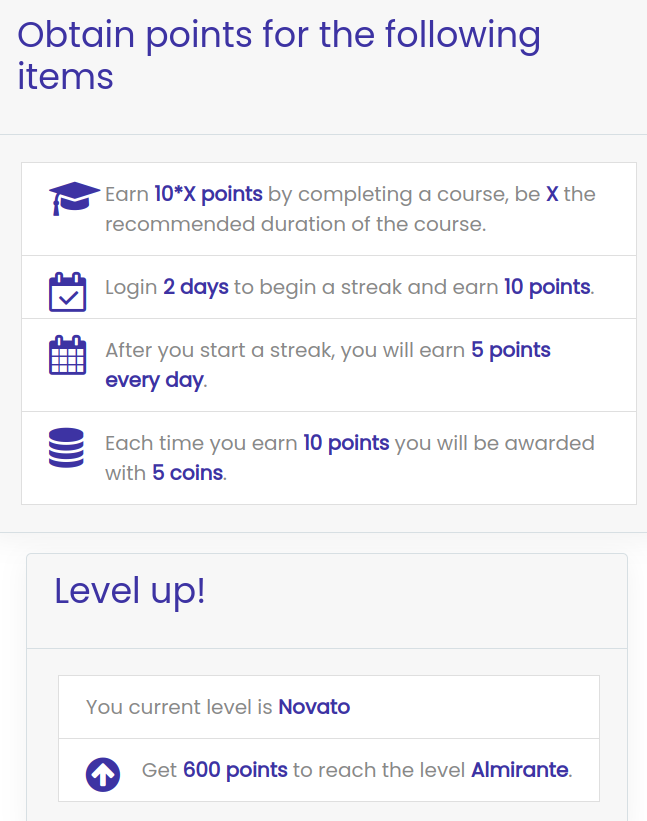
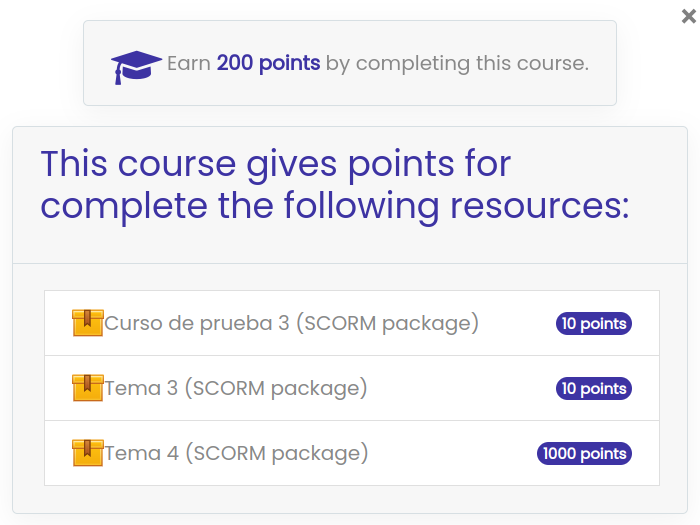
In the Help area you will find information on some of the criteria you can meet to obtain additional points. If the block is within a course, then it will show you those activities that were configured to assign points for completion.
Taken from.: https://uvirtualabierta.udem.edu.co/
Taken from.: https://uvirtualabierta.udem.edu.co/