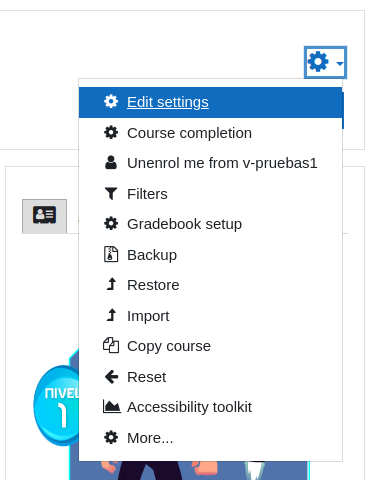
To select a format, access the course configuration by clicking on “Edit settings”.
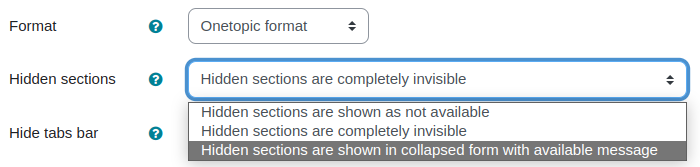
Once there, drop down the “Course Format” section and in the “Format” field choose “Onetopic format”.

Once this option is selected, other options will be enabled such as Hidden sections: This option will let you choose how the sections will be seen in case they are not visible, they can be seen as collapsed, totally invisible or collapsed with availability message.
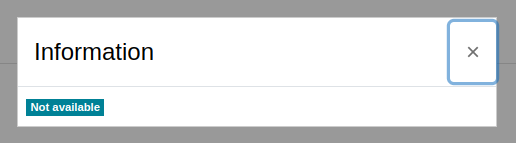
By choosing the option that they are hidden and displayed in a collapsed way, the hidden tab will be visible but different from the others that are not and will not allow access, in case of clicking on the hidden tab with this option, you can read a warning indicating that it is not available. In this case the hidden tab is that of Topic 1.

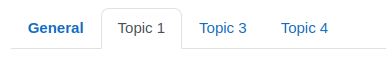
If you choose the option that they are totally invisible, you will not see the tab or a warning that it is hidden. In this case the hidden tab is the Topic 2 tab.
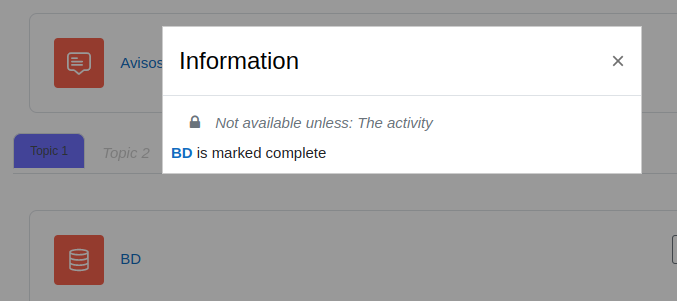
When you choose the option to display a collapsed form with availability message, it will look similar to the first option where it is also displayed collapsed, but unlike the other one, this one has a small help icon and when you click on it, a dialog box will open with the availability information.
Hide tab bar
This option will allow you to hide the tabbed navigation bar, you will be able to navigate between sections with the options available in the lower corners.

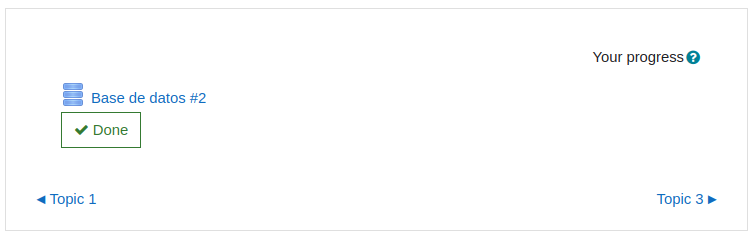
If you wish to hide the tab bar, choose the “No” option and once the settings are saved the tabs will not be visible, however, at the bottom right and left, below the resources, you will see the names of the previous and next sections for navigation.
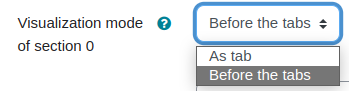
Visualization mode of section 0
This option allows you to choose how to view the general section or section 0, either as a tab or above the other tabs.
If you choose the option “As tab” the general section will be at the level of the other tabs.
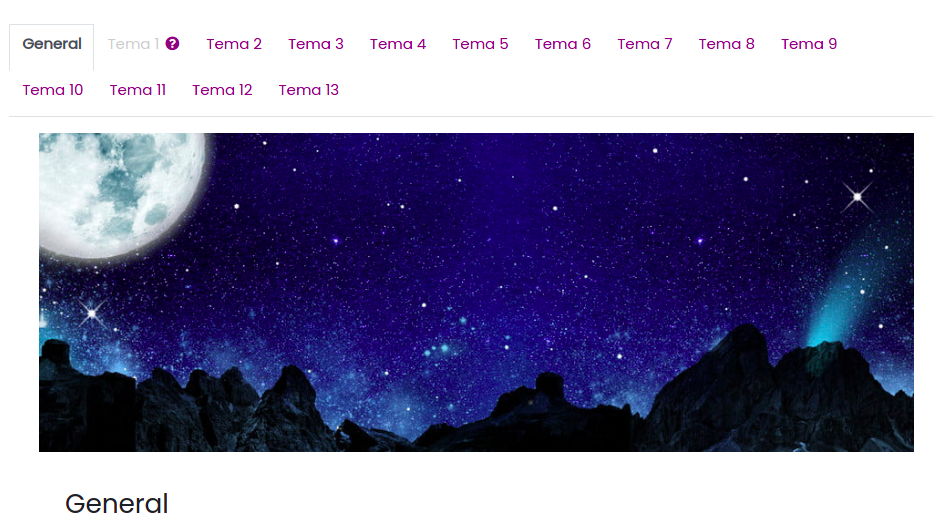
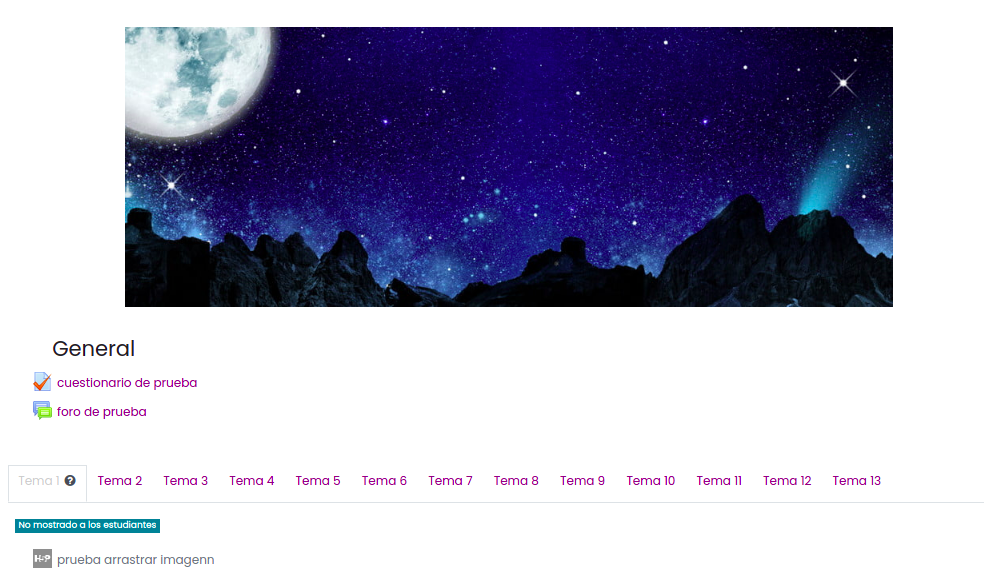
If the “Before the tabs” option is chosen, the resources added to the zero section will still be visible while navigating between tabs. It is especially useful to place a course banner or some general course navigation menu there.
Use topic summary as template
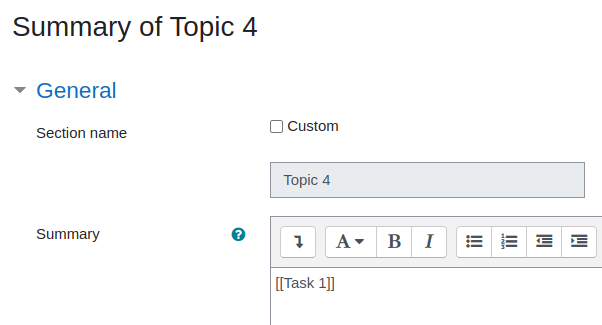
This option allows the content in a topic summary to be used as an HTML template, so that resources can be placed anywhere in the content, not necessarily as sequential lists as traditionally shown in Moodle. To place a resource, simply place in the section summary the name of the resource enclosed in double brackets, example: [[Task 1]].

Example: In the “Topic 4” tab, 2 activities were created of which only one was referenced in the topic template summary, you will see how the activities are displayed using the 3 possible choices of this option.
In the summary, the exact name by which the resource was called was added in double brackets [[Task 1]] while the activity called “Task 2” was not referenced, as indicated above.
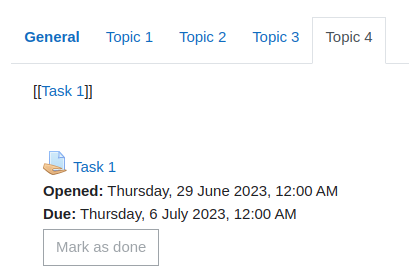
With the “No, display by default” option the resources are not auto-linked, the text remains there as plain text and the resources can be seen as Moodle displays them.
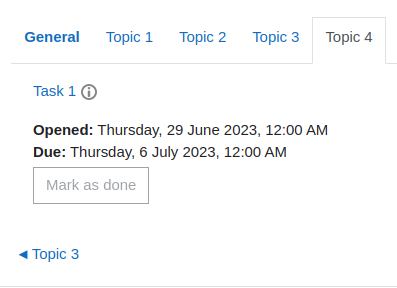
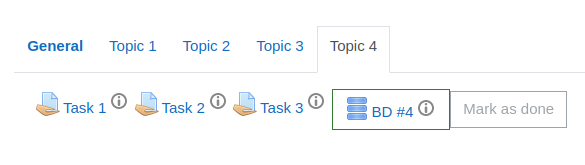
With the option “Yes, use the summary as a template” the resources called in double brackets remain as hyperlinks that lead to the resource when clicked and those that were not called in the template are not displayed.
A more complete example of the application of this option will now be shown.
In the image 16 you can see that 3 resources are called in a simple way, as explained above, and the resource “BD #4” is called in a button;
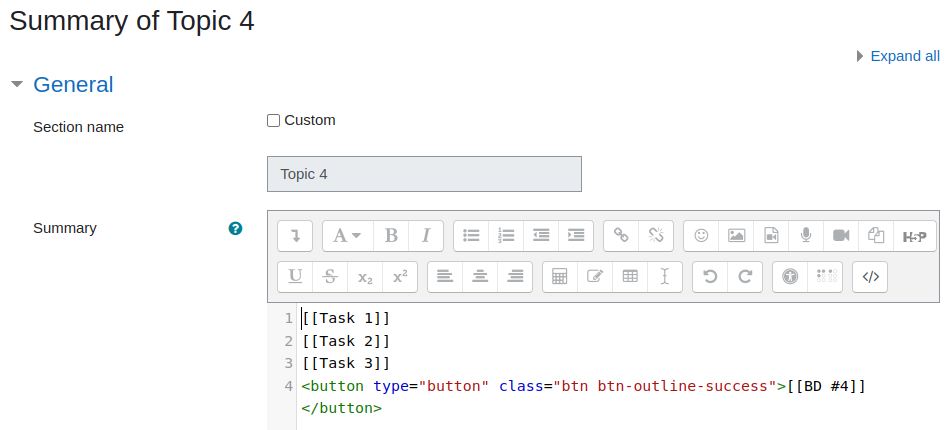
For the case of the button, the resource is called in the code in the [[BD #4]] tag part.

This will be the view when saving and viewing published in the summary.
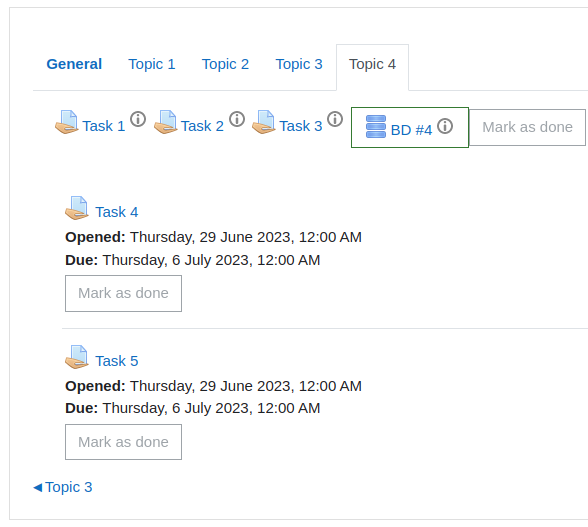
With the option “Yes, use the summary as a template and list resources not referenced” the resources that were not called in the HTML template, i.e. in the section summary, are displayed at the bottom as Moodle lists them by default.
Show icon in resource links in summary
This option defines whether or not the resource icons are displayed when the summary is used as a template.

With this option set to ‘No‘, the resources are displayed only with their name as a hyperlink.

With this option set to ‘Yes‘ the resources are displayed with their name as a hyperlink and the moodle resource icon.
Tab view
The “Tab View” option allows tabs to be placed in a vertical menu or in a single line with scrolling if there are many tabs. This reduces clutter in courses that have a large number of topics, a lot of content in the topics, or a combination of both.
In the post “Onetopic view” we go into more detail about these options.
Restrict access
You can configure a tab so that it is only displayed if the user meets certain conditions. To do this you must turn editing on in the course where you have the onetopic format and go to the tab you want to restrict. Once there, click on Edit section and define the conditions you want.

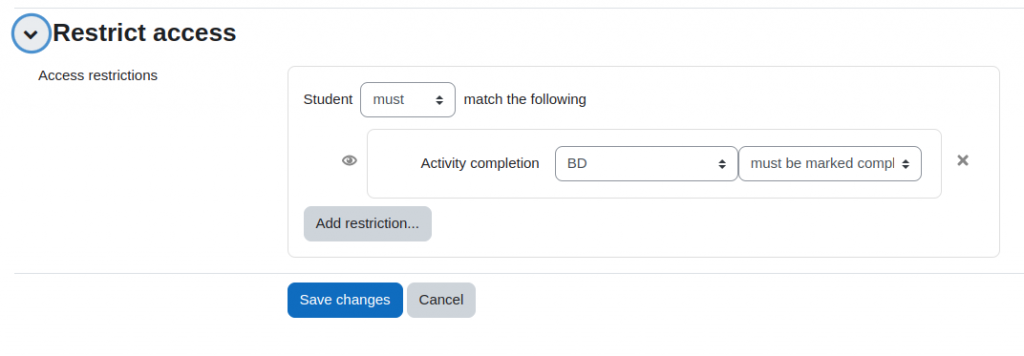
Tabs with defined restrictions will be displayed with a button that will indicate to the user which conditions must be met to access that tab.